-40%
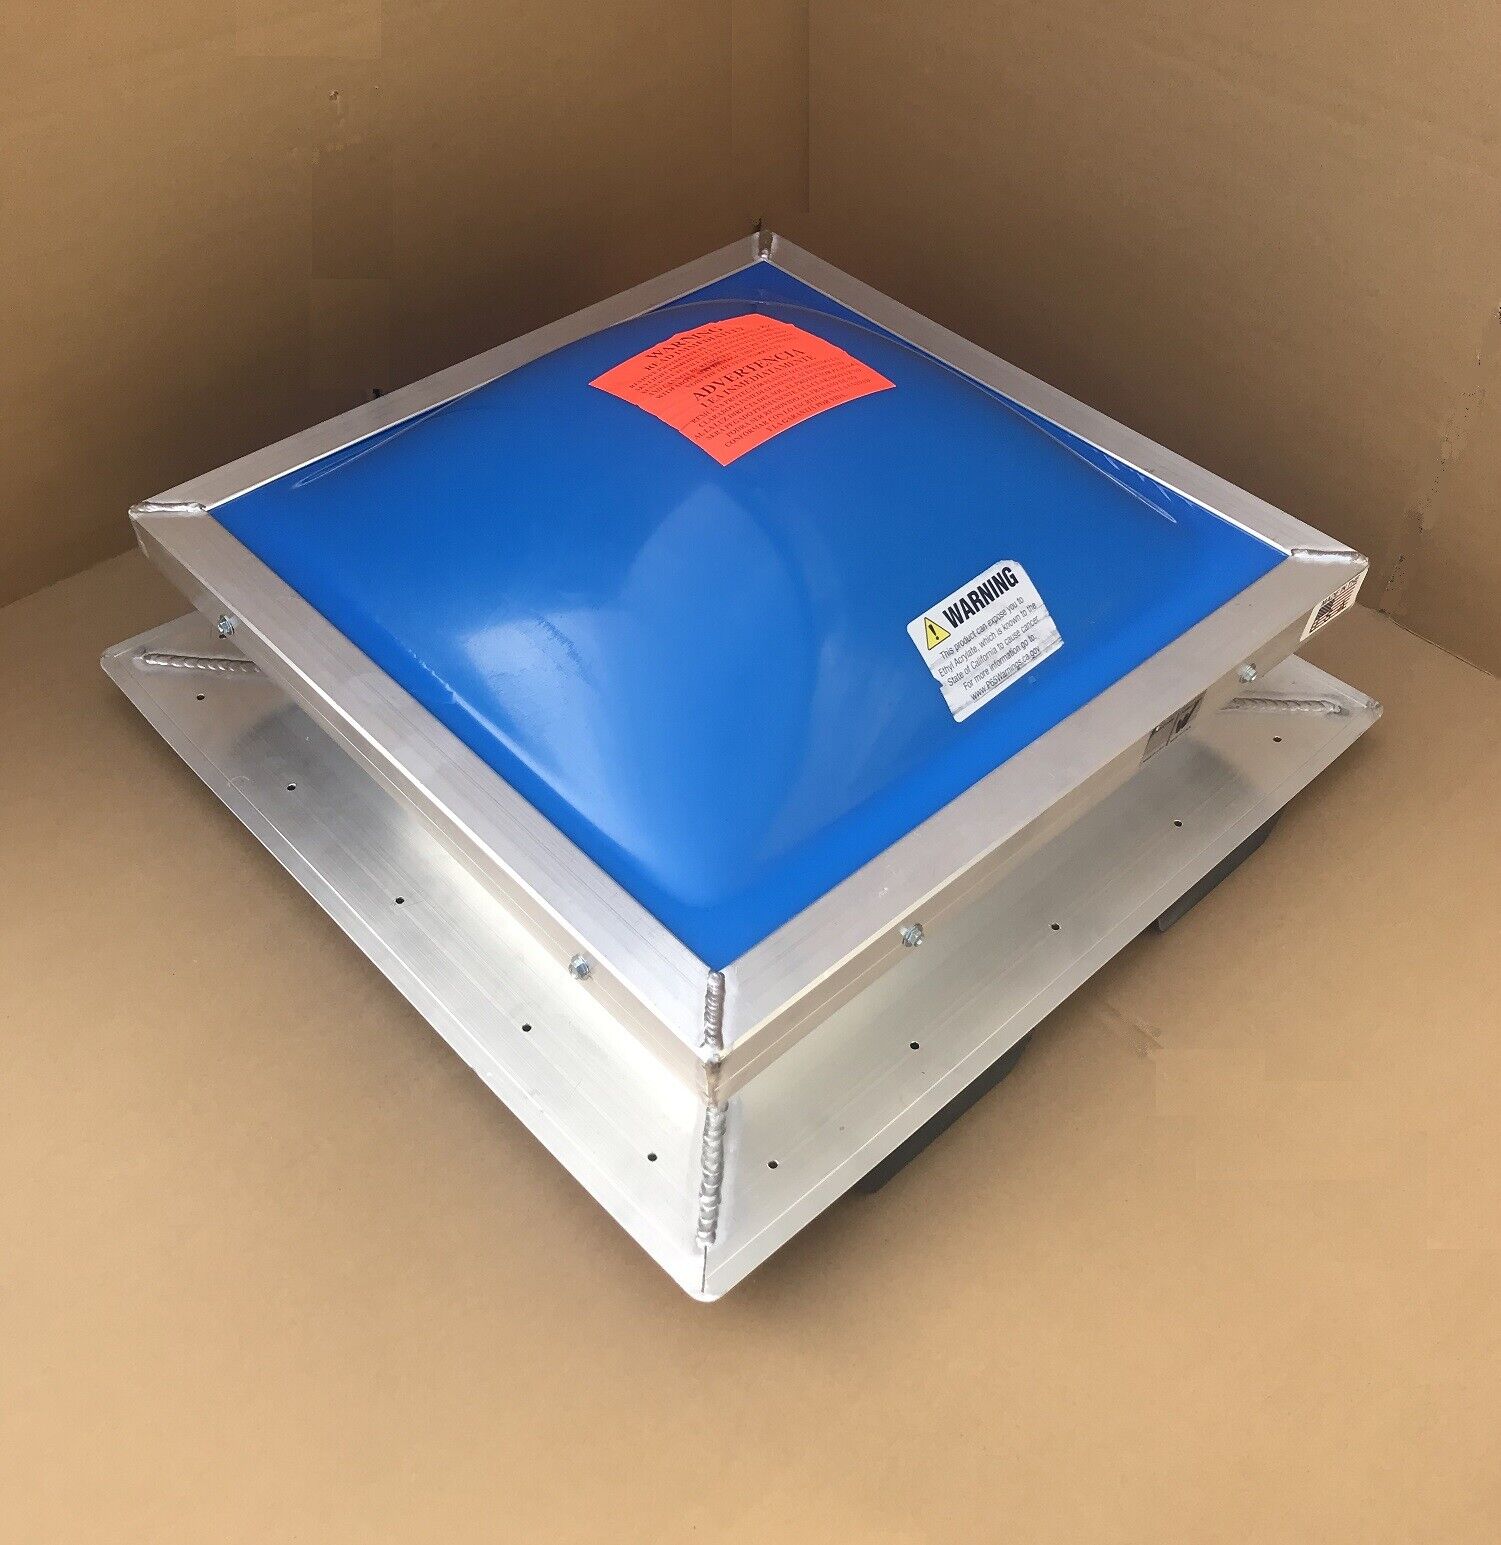
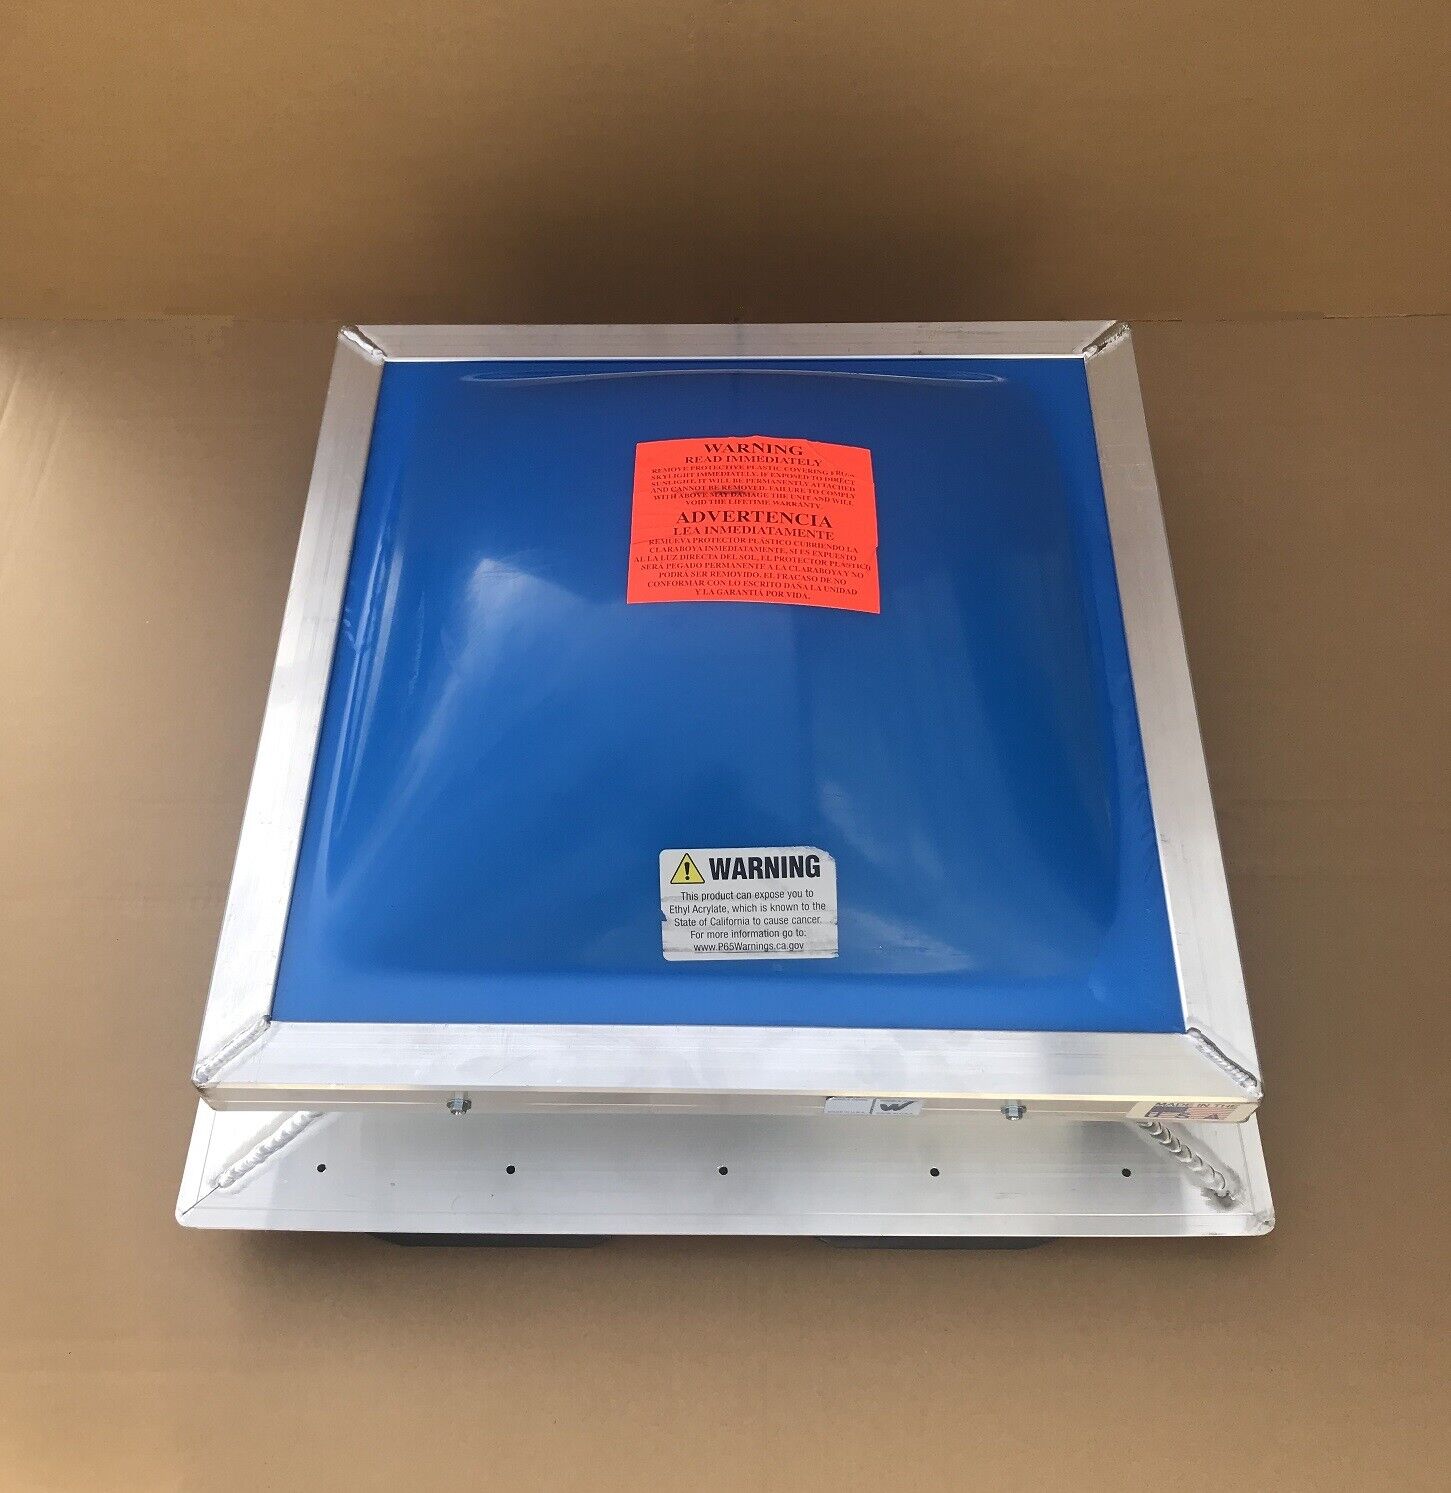
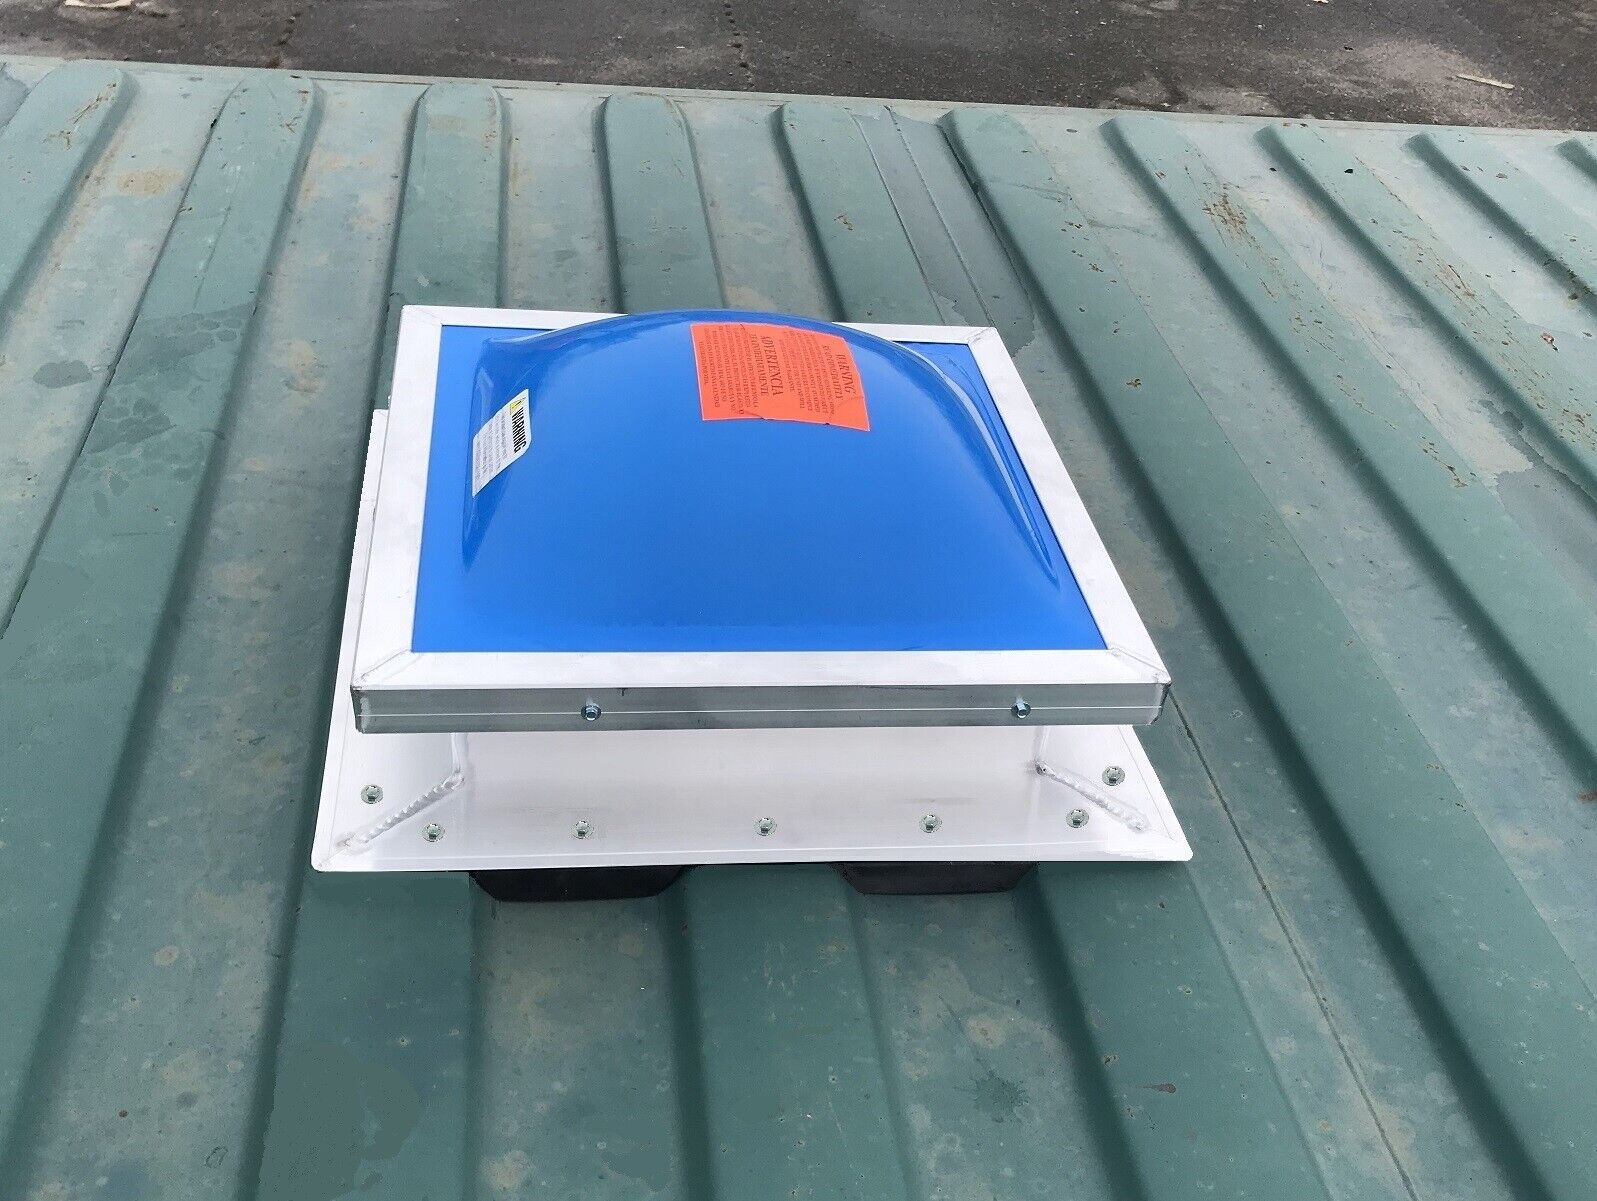
14”x14” Fixed Aluminum Skylight with White Acrylic Double Dome for Containers
$ 115.63
- Description
- Size Guide
Description
14”x14” Fixed Aluminum Skylight with White Acrylic Double Dome for Containers
As the electricity costs increase the use of skylights as a natural and efficient alternative to power generated interior lighting becomes obvious. Our aluminum skylights will make your container appear larger while providing for greater daytime illumination levels than ever before.
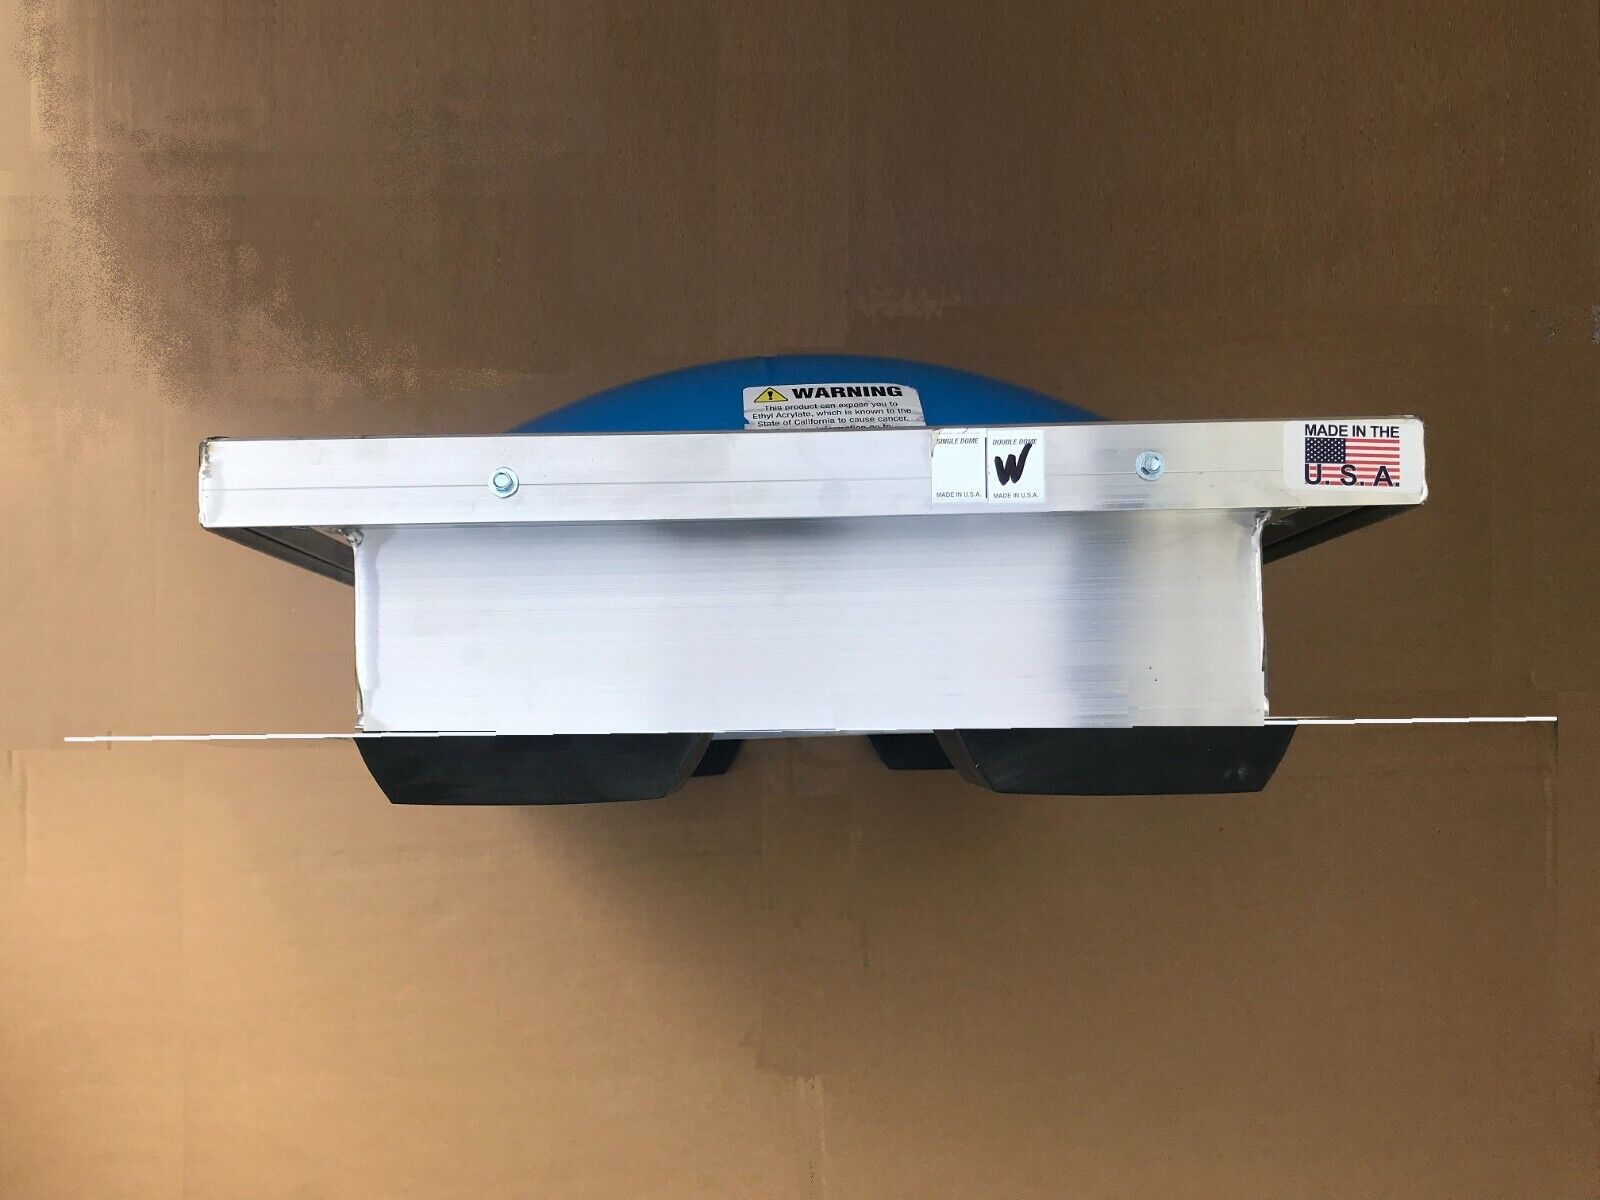
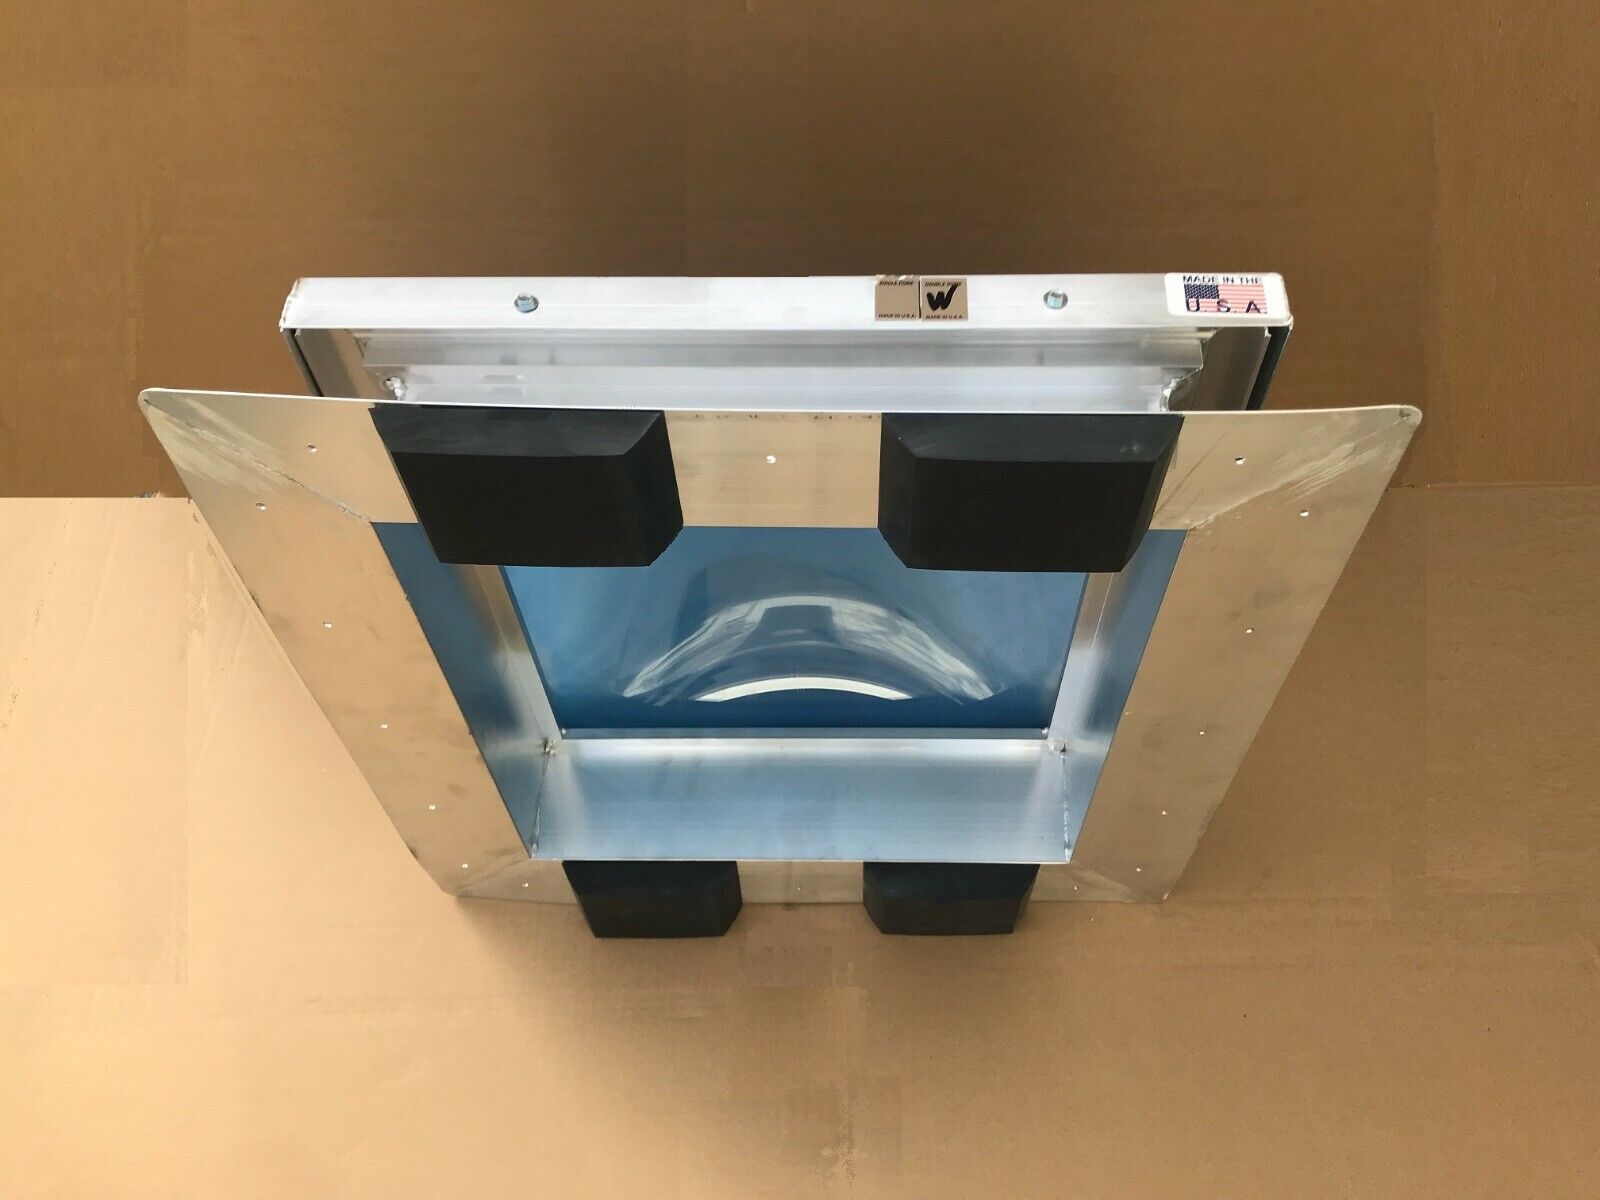
This skylight is the ideal natural lighting solution for storage containers in temperate climates. It has mitered and heliarc welded watertight corners, with integral condensation and weepage gutters.
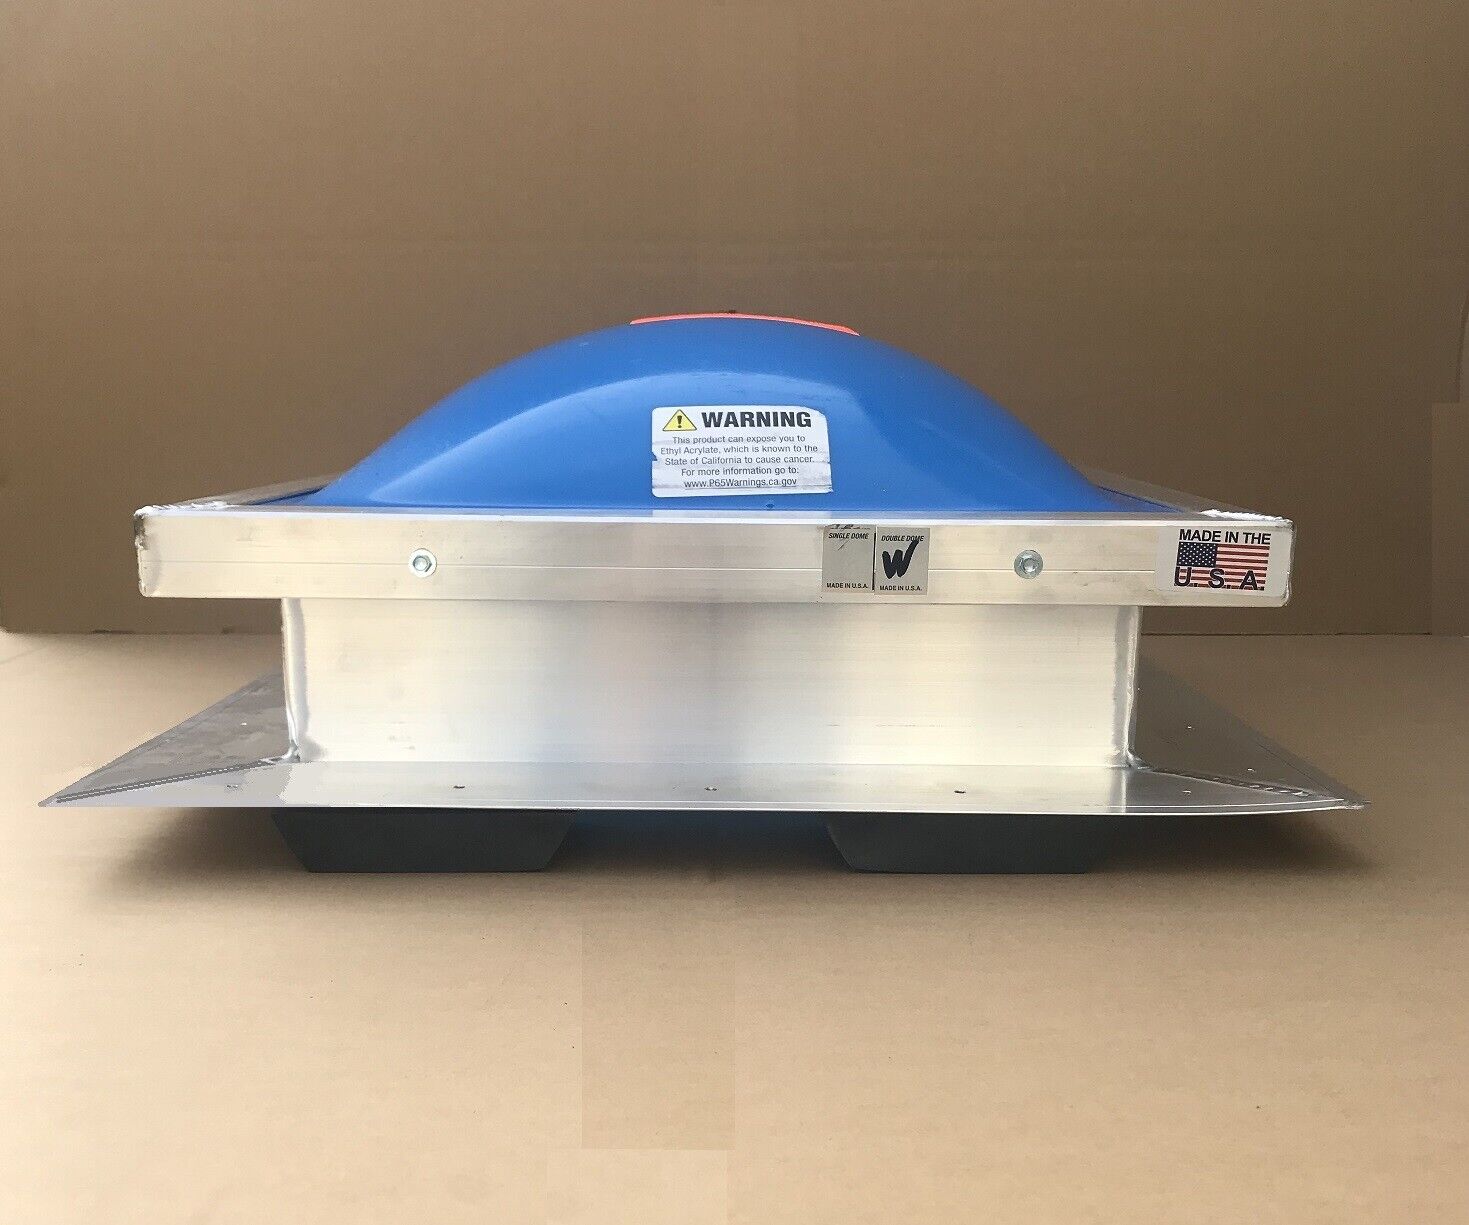
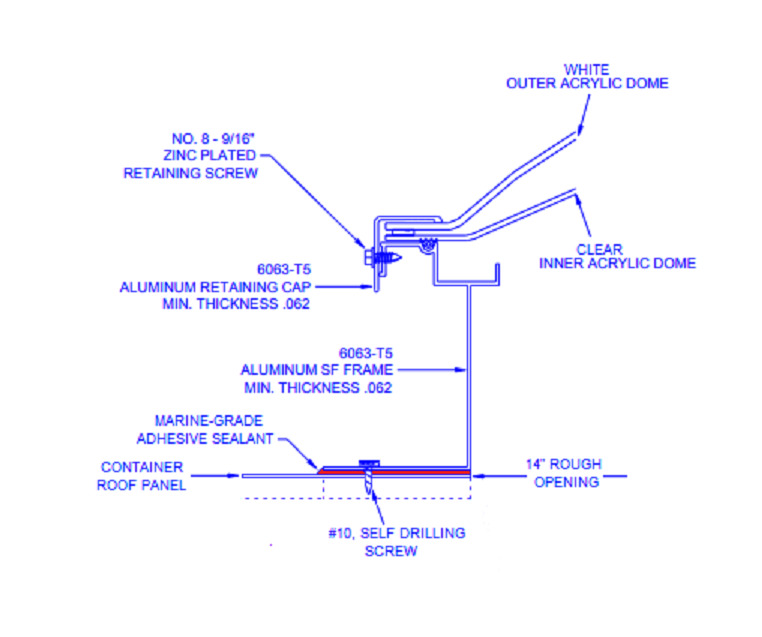
The aluminum frame is 4’ high with a 3” flange for easy installation to your container roof. The domes are formed from acrylic plastic sheets, and attached to an aluminum sill frame and aluminum retainer cap with corrosion-resistant screws (electrogalvanized, No 8, ½ inch long self-drilling, tamper-proof steel screws). Plastic domes are Type 147K Lucite acrylic plastics. Aluminum frame and retainer cap are made of extruded aluminum alloy Type T5 with a min. thickness of .060.
It is an economical and effective way to bring healthy natural sunlight into your storage containers. We recommend you to install one or two for 20’ containers and two or three for 40’ containers for sufficient natural daytime lighting.
Most importantly it is highly efficient, affordable, durable, and has an attractive appearance.
Features:
-
Leak-Proof Design
-
Solid Welded Corners
-
White over clear acrylic double dome insulated glass is designed to withstand the impact of hurricane winds, rain and hail
- Mill finish aluminum exterior frame is designed for long-lasting durability
- Aluminum interior frame optimizes thermal performance
-
It
is specifically designed to
fit
directly over the rough opening on your corrugated shipping container roof. Just like all of our products it is designed to be quickly and safely installed with a strong water tight fit saving you time and money.
- Easier and cheaper to install compare to a window and while letting the light in maintain privacy regardless of the orientation of your storage unit and the sun’s position, it is bright inside the container all day. Skylights distribute light uniformly throughout the container and there is no window glare. And remember windows take valuable wall space that will reduce the storage capacity of your storage container.
- Creates a sense of spaciousness and brightens inside your storage container using natural sunlight, opens it up by distributing natural light uniformly, eliminating the shadows that make the storage containers dark and depressing.
- Conserves energy; if you go in and out of your storage container during the day it is an excellent alternative to installing expensive electric lighting system and you won’t have to reach for the light switch every time you enter into your container.
-
Maintenance Free
Specifications:
Skylight Style:
Fixed
Actual Length:
20 in.
Actual Width: 20 in.
Actual Height: 8
.5 in.
Height From Rooftop: 7.5 in.
Rough Opening Length:
14 in.
Rough Opening Width:
14 in.
Exterior Frame Material: Aluminum
Interior Frame Material: Aluminum
Frame Color/Finish:
Aluminum
Glass Type: Acrylic Double Dome
Glass Insulation:
Dual-pane
Glazing Type:
Impact
Installation Type:
Self-flashing
Flashing Included:
✔
Installation Hardware (Included): 16 pcs #10, ¾” Long and 4 pcs #10, 1 ½” Long Self-drilling Screws
Installation Instructions:
STOP!
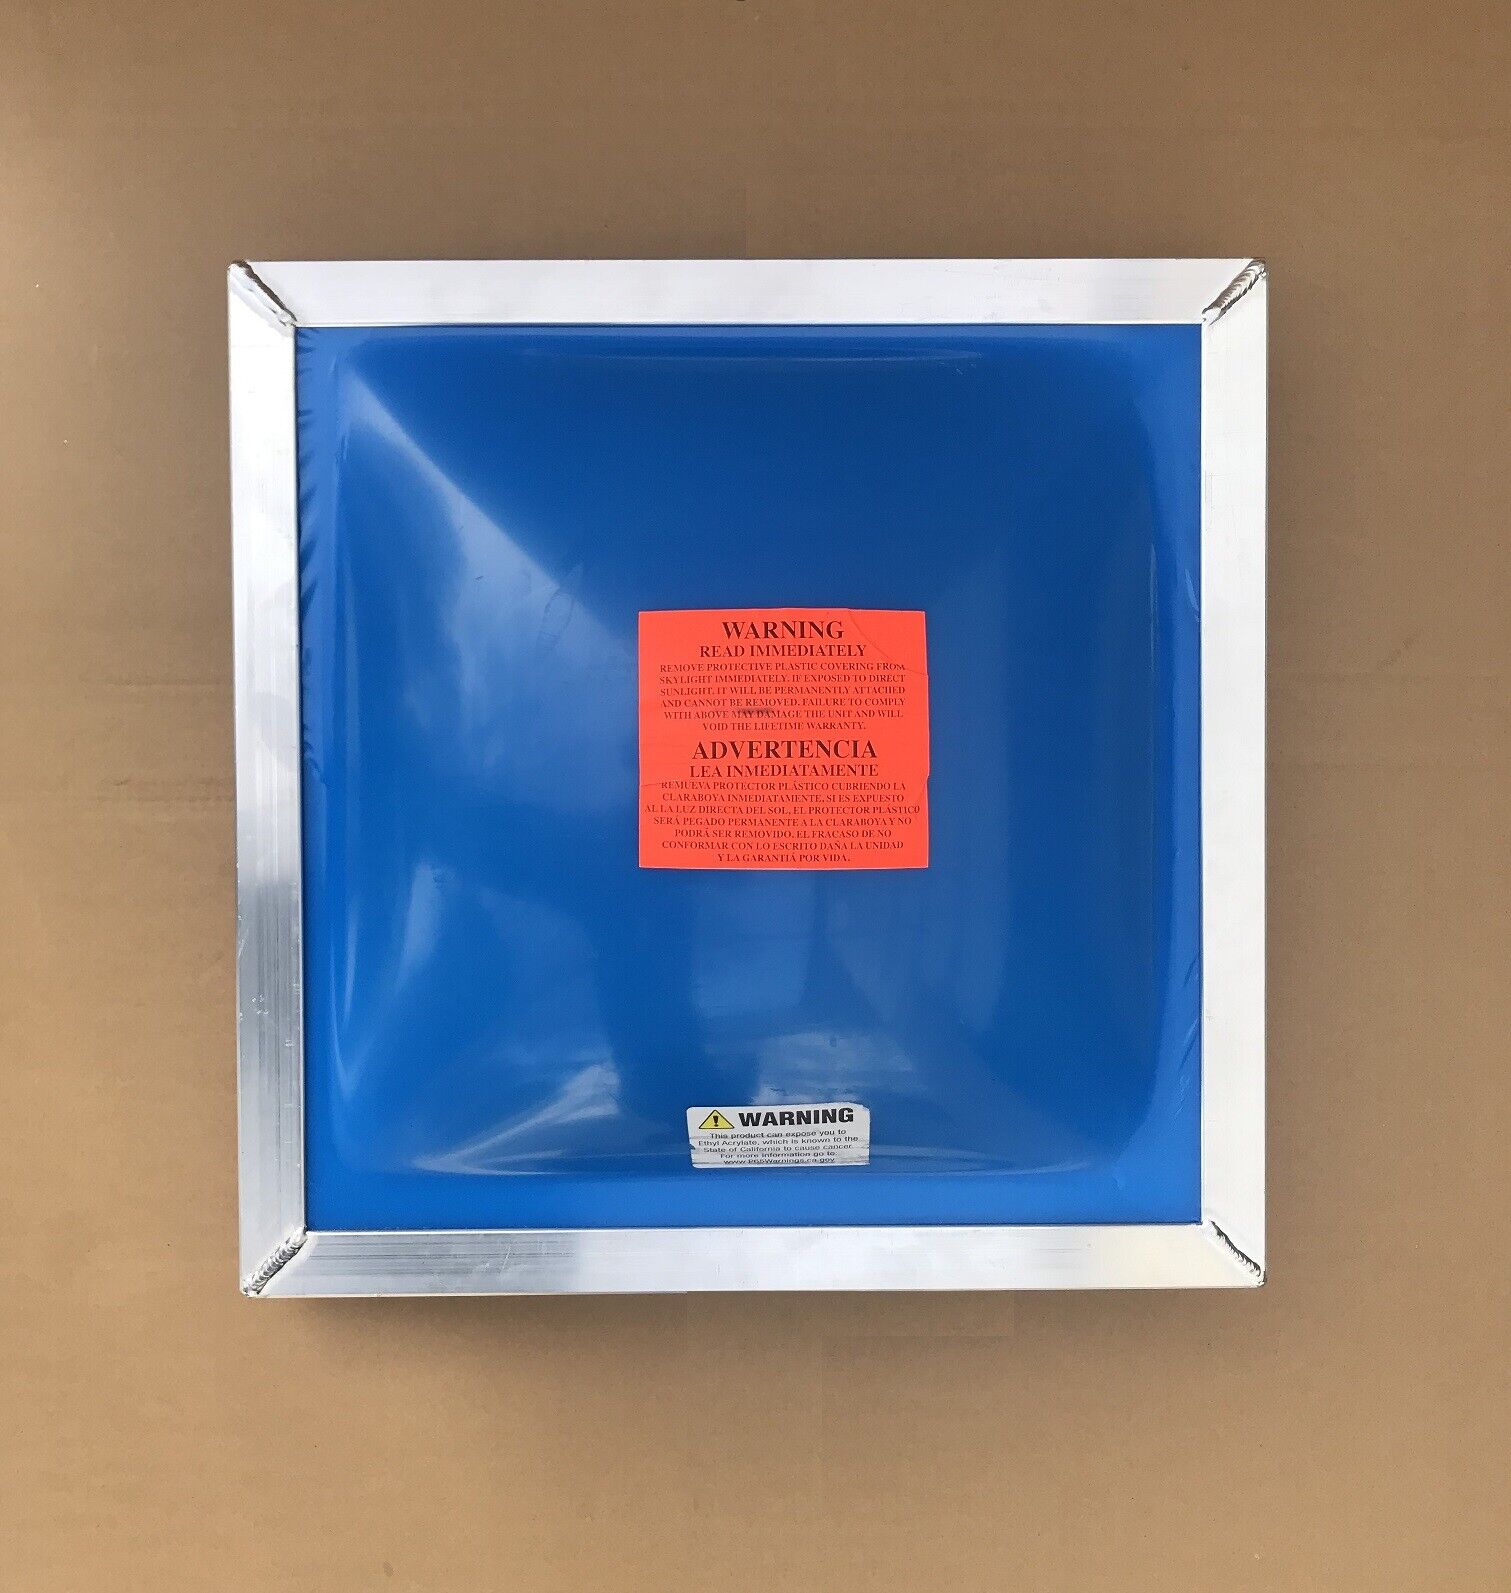
Remove protective plastic covering from skylight immediately. If exposed to direct sunlight it will be permanently attached and cannot be removed.
Before you start to install your skylight please read the entire instructions.
This product has sharp edges that can cut your hands. Wear canvas gloves during installation and handling. Use care when handling unit to prevent damage
acrylic dome
.
To ensure your safety, always use eyewear and hearing protection. Keep your hands clear of blades, grinding discs and drill bits. If you are not proficient in the use of power tools, you should find professional help to cut the hole. Make sure you have all the tools and materials you will need. Check the weather, although the installation should take about 45 mins, allow yourself 1 to 2 hours to complete the installation.
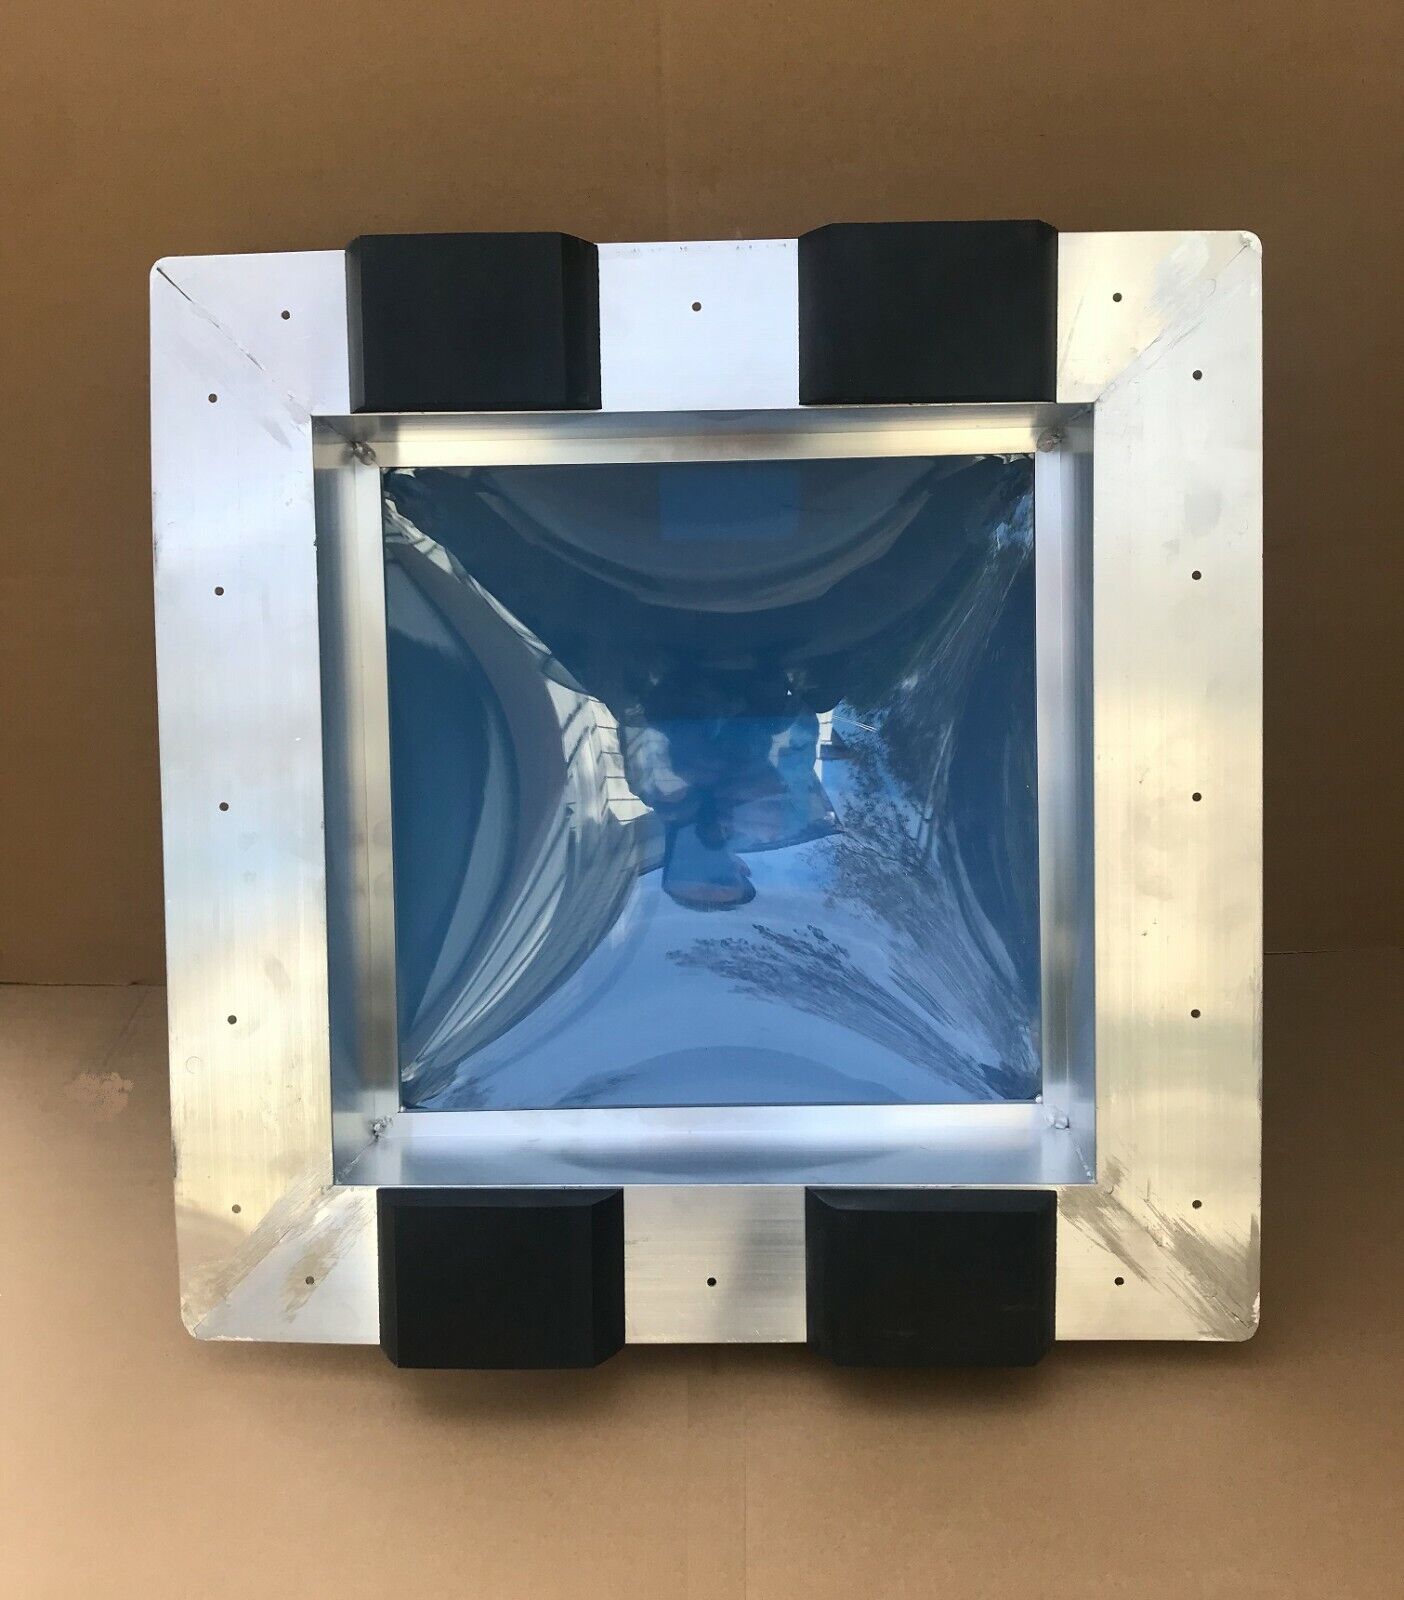
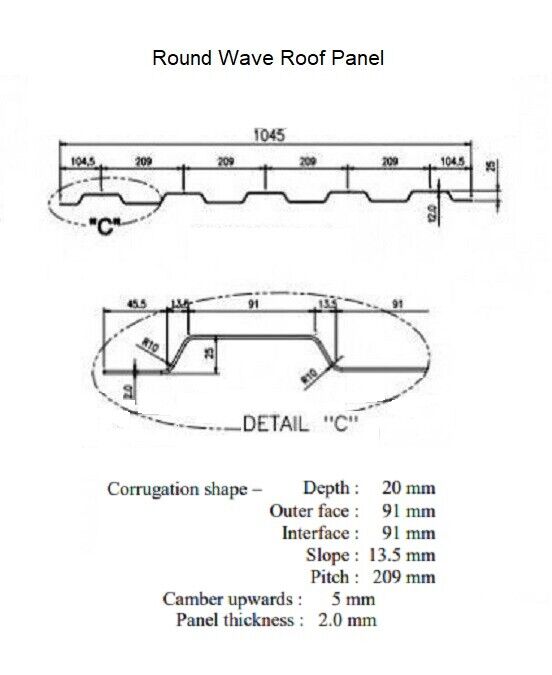
Although for the most part they are even, every cargo container roof has slight deviations in the corrugated spacing. The
rubber strips on our skylights are
specifically designed to
fit
directly onto your shipping container roof corrugation and
accommodate minor deviations
. Just like all of our products it is designed to be quickly and safely installed with a strong water tight fit.
It is recommended that prior to installation, the installer should check various locations on the roof to find the area that fits the best. Avoid seams and any place that looks uneven due to dents or heavy warping. The installation process should take about 45 minutes once you have everything in place, but before proceeding, test fit the skylight first. It should fit perfectly little to no gaps.
Here is a list of tools/supplies you will need:
Grinder with 1/8” max thickness abrasive cutoff wheel (Reciprocating saw with metal cutting blade also can be used)
Drill, Center punch, Drill bit 5/32”
Rag, abrasive pad, pencil, acetone, masking tape, measuring tape,
5200 marine-grade adhesive sealant,
caulk gun, gloves, ear and eye protection
-
Once you have selected an adequate location to mount your skylight, place it in the selected area, make sure the corrugations are centered as best as possible, and carefully pencil a line on the outside edge to mark location. This will be a 20”x 20” square. Using painter’s masking tape, mask ¼” outside of the pencil mark. Mark the screw holes. Small gaps are OK, it will never be perfect but you should still proceed with the installation. The corrugation profile strips will conform to the container.
-
Move the skylight aside and take note of which way it is facing. When installing, the unit should face the same way to match the marked screw holes. Although the supplied screws are self-drilling it is better to center punch the holes and drill them first using 5/32” drill bit.
-
Measure and pencil two marks approximately 3” inside of the line on each side then align your marks and draw a 14” x14” square. This will be the hole that you will cut.
-
Using a grinder with a maximum 1/8” thick cutting disc, start your cuts in two corners. Then follow the lines to cut the 14” x14” square hole with your reciprocating saw.
If the shipping container has been retrofitted with electricity or gas, make sure not to cut through the wires or pipes.
You can also use a drill and bit same size as your reciprocating blade to start your corners. We highly recommend using the grinder with cutoff wheel. If you do not have a reciprocating saw you can cut your entire hole with the grinder.
-
With the abrasive pad, thoroughly scuff the roof from the tape line to edge of the 14” x14” square hole you just cut. This will prepare the roof to bond with the skylight.
-
Using
5200 marine-grade adhesive sealant
, apply two parallel 3/8” beads ½” from the masking tape and from the edge of the square hole and another bead in between them. It is important to use enough adhesive to make a good seal. There should not be any thin areas as water will find its way through. Adhesive should ooze from 100% of all side edges when the screws are tightened. If you have some minor visible voids in adhesive, it is perfectly acceptable to back fill thoroughly with the 5200
marine-grade adhesive sealant
.
-
Using care, center the skylight, lining it up with the previously marked and drilled holes, and ensure that the skylight is facing the same when you marked the holes.
-
With the self-taping screws provided (16 pcs short and 4 pcs long) with your skylight, screw in the skylight by first loosely setting screws in to holes. Longer screws to be used where there is corrugation profile rubber strips between the aluminum flashing of the skylight and the roof panel and the shorter ones where the aluminum flashing of the skylight is in contact with the roof panel directly. Starting with the center corrugations, half tighten all of the screws alternating from one side to the next so that the flashing mount seats uniformly then tighten them completely in same order. If installed properly, there will be adhesive visible outside the flashing after the skylight is screwed down to the roof.
-
Use a stick or old credit card to remove excess adhesive.
-
Remove masking tape and apply acetone to a clean rag and wipe the excess adhesive. Acetone will damage the acrylic dome so make sure not to touch it with the rag and not to splash while cleaning the excess adhesive. Be careful not to pour or puddle the acetone directly to the area. This can weaken the adhesive as it will travel under the flashing mount.
Acetone can also cause severe surface damage to paint if left for too long
.
Always apply small amounts of acetone directly to the clean rag and then wipe the area to be cleaned. Never crumple acetone rags and throw in the trash. They should be laid out until they are completely dry before discarding. Crumpled rags that have absorbed flammable liquids can combust. Until in a dry state, keeping acetone soaked rags away from other combustible items is very important.
Congratulations on a job well done! These installation instructions allowed you to successfully and permanently install your 14
”
x14
”
Fixed
Aluminum
Skylight
to your storage container.
Your Skylight has built-in drainage system to carry all moisture safely outside. You will experience the benefits for years to come.
Once installed the skylight should require no maintenance. Normal rainfall should keep the skylight clean. However, washing with soap and water will not harm the unit. No petroleum or ammonia based cleaners should be used.
*This information is supplied in good faith but without recommendation as to its use. No guarantee of results of any use of the information is to be implied, since the conditions of use are beyond our control.
If you have any questions please ask and get an answer first before you buy.
CONTAINERS ARE AVAILABLE NATIONWIDE
*Price varies by location
Please click on my store and
check
out the accessories we sell for these containers.
